An introduction to Safepoint
If you’ve been asked to use Safepoint by your organisation, you may be wondering what it is and how to use it. Here, we’ll introduce Safepoint and answer any questions you might have.

What is Safepoint?
Safepoint makes tools that help keep people safe when they’re working alone or in high-risk roles.
Safepoint connects workers with their ‘guardian’ (supervisors and emergency response teams) through Safepoint’s apps and wearable devices.
How does it keep people safe?
With Safepoint, you can manually request help by pressing the panic button on the app, or on our wearable panic alarms.
Alerts can also be triggered automatically. Through the use of ‘timed tasks’ in the app. During these tasks, your live-location is shared with your guardians for a set duration. If you fail to check-in as safe before the time runs out, an alert will be sent out and your guardians will then check up on you.
Your guardians might consist of some of your supervisors, or your organisation might use Safepoint GuardianPlus, in which a team of accredited professionals will monitor your emergency alerts 24/7, and will be there to check up on you should an alert be raised.
Note: it is impossible for your guardians to see your location unless you have an active task or emergency alert, it cannot be used for ‘snooping’.
How to get set up on Safepoint as a Lone Worker
It takes just a few minutes to set up your account on Safepoint as a lone worker. All you will need is the smartphone that you will be downloading the app onto.
Account Creation
1. Download the Safepoint app from the iOS App Store or the Android Play Store. It will look similar to the image below.

2. You will be taken through an introduction to Safepoint. Tap start and get familiar with what Safepoint can do.
3. Tap “Register”, enter and submit your details. Ensure that you use the same email address that you were/will be invited with.
4. Tap “Get started”. You will see the invitation to your company, tap the blue “Join” button to accept the invitation. It should look similar to the below image.
Note: If you do not have a blue “Join” button you will need to request an invitation from your system administrator.

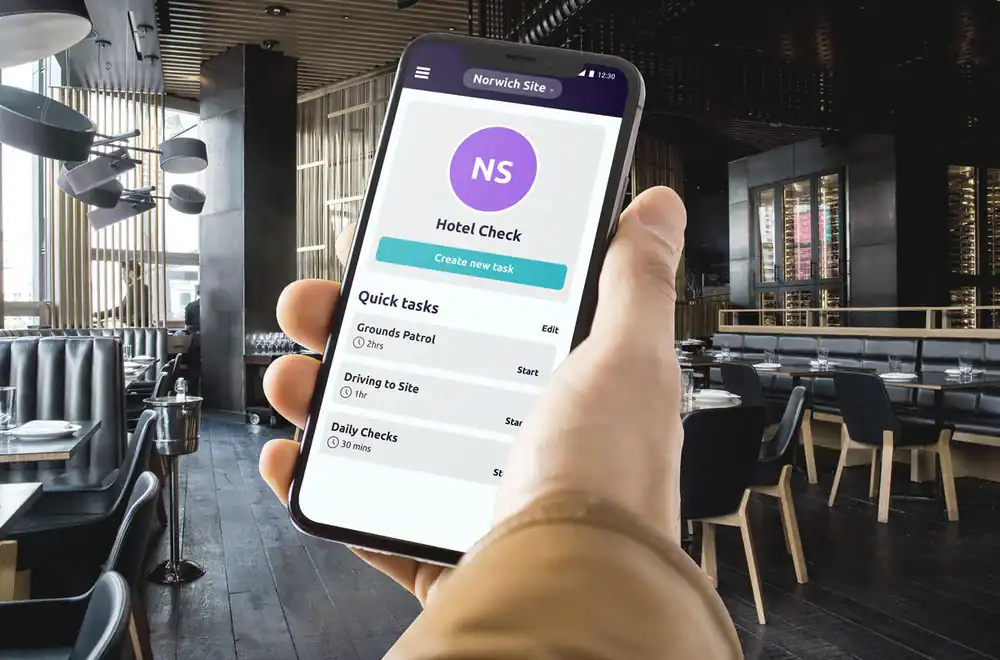
5. Welcome to the home screen! Your app should now look similar to the below image.
At the top of the app’s home screen, you should see your team name. If your company has multiple teams, tap this team name and select the one you want to start a task with.
Note: If you don’t see a team, check if your Safepoint administrator has correctly added you to a team, and that you are using the correct email address.

Adding a Telephone Number
Now we will add your contact telephone number that will be used in emergency situations.
1. Tap “Account” in the bottom right of the screen.
2. Tap “Profile”.
3. Tap “Contact”, enter and then verify your telephone number using the verification SMS that you receive.
Creating a Test Task
The final thing to do is to create a test task to make sure everything is working as expected!
1. Tap ‘ Task’.
Note: If you see “No license” you will need to request a license from your administrator.
2. Give your task a name such as “Test Task”.
3. Set a duration for the task.
4. Tap “Create Task”.
Note: If you often do the same task, you can select “Save as quick task” to save the task name and duration as a template.
5. You will now see your active task in the blue bar at the bottom of the screen. Tap this blue bar to open your task.
6. Tap “Complete” then “Complete Task” to finish the task.
That’s it! You’re now up and running on Safepoint! Further support can be found in our help centre here.
If you have been equipped with one of Safepoint’s wearable devices, instructions on how to set it up can be found here.